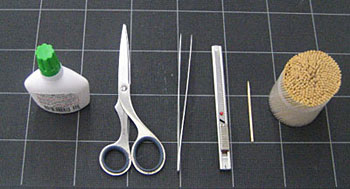
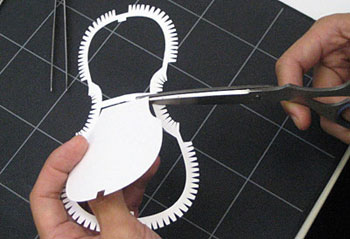
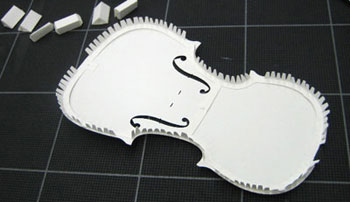
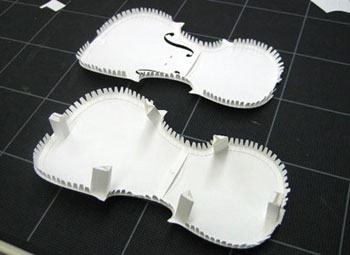
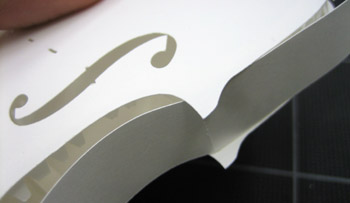
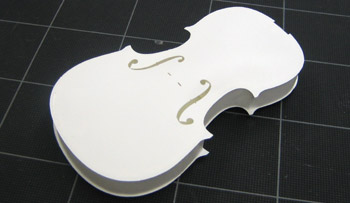
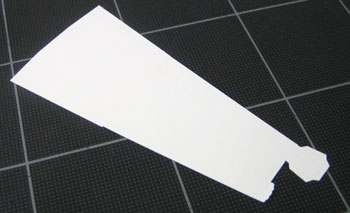
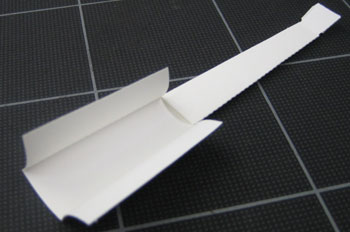
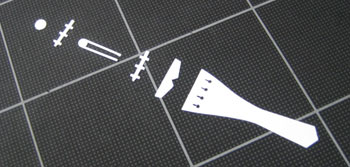
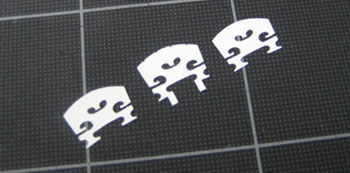
Using exact knife or scissor cutting out A1 top bodice and B5
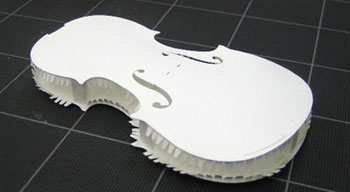
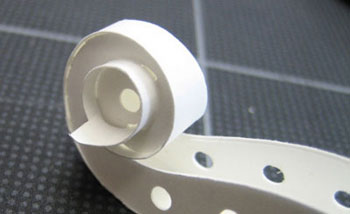
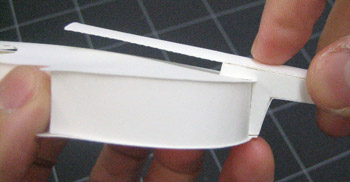
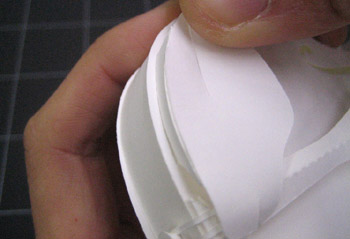
As shown in how to make violin and the picture on the left, make a curve by rolling up the top bodice to
give realistic nice shape of violin.
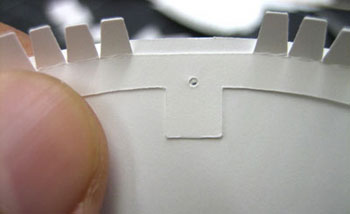
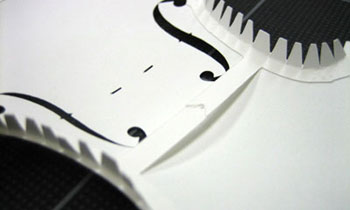
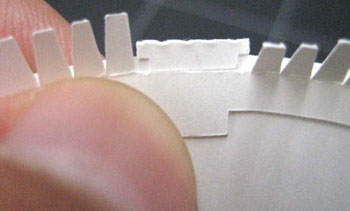
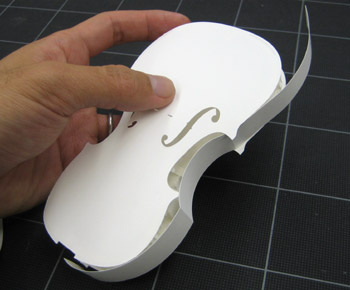
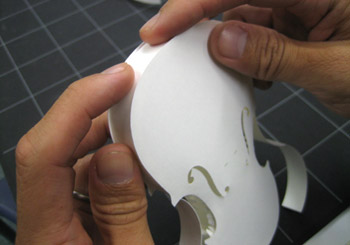
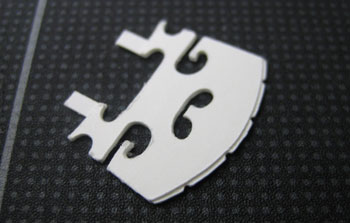
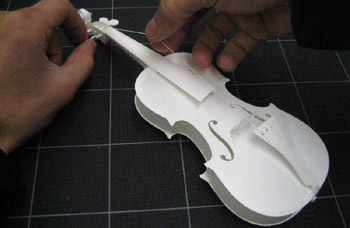
match up the pin hole on the bottom of the top part of violin first. Apply glue top and bottom. I think this stage is the most important process to achieve real nice violin shape.
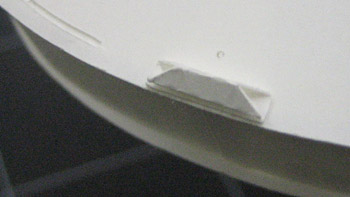
Also make sure no glue apply on the belt part as shown on the picture 7. This belt is the key element to hold together to give violin with nice bodice curve.
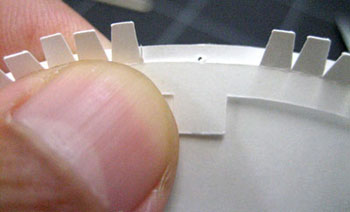
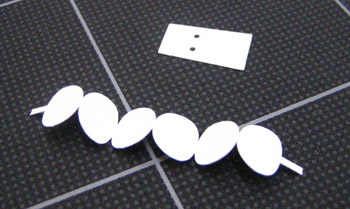
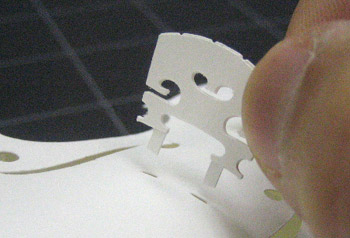
Make sure all teeth are hold before apply glue. Don't apply glue on teeth part.
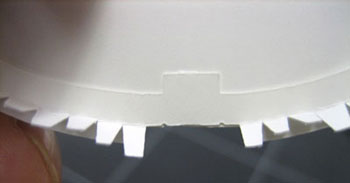
Overlap the belt part with pin hole guidance.This belt will hold the violin bodice with nice curved natural violin shape.
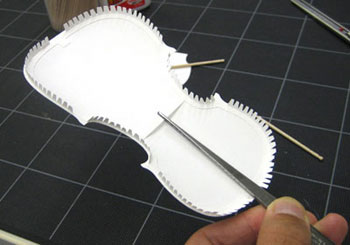
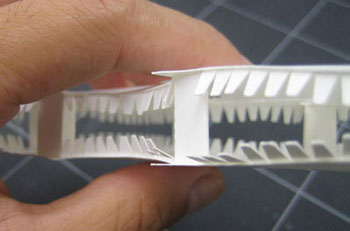
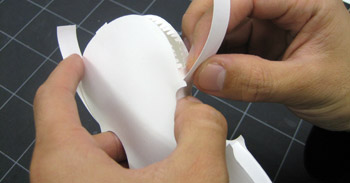
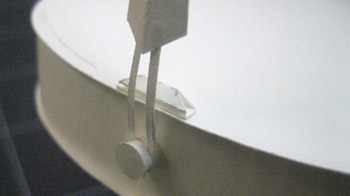
You can also use additional support by gluing a strip of piece of paper.
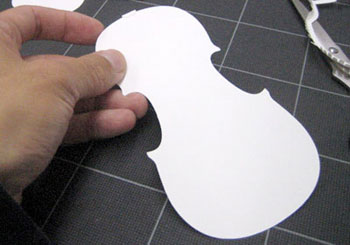
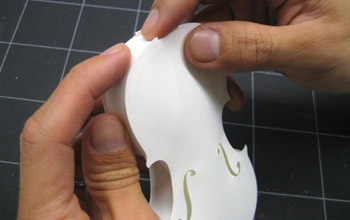
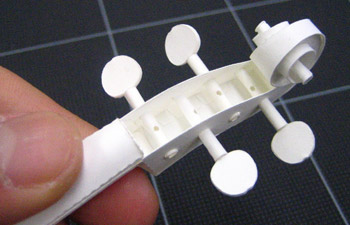
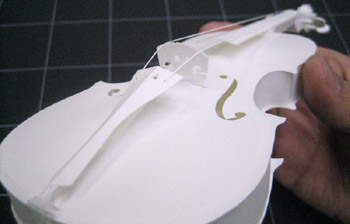
Start putting side panel from the edge of the middle of the violin bodice as shown. Then Gradually work toward to bottom then up.
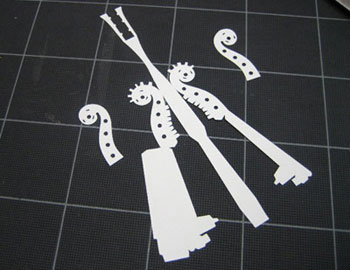
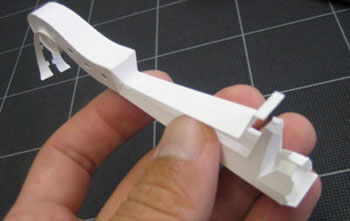
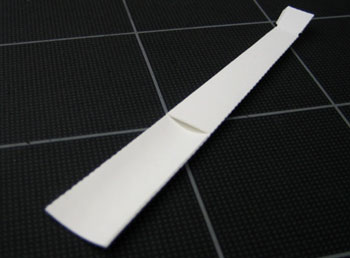
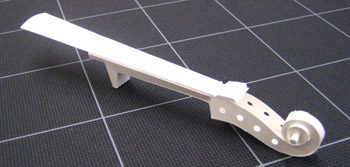
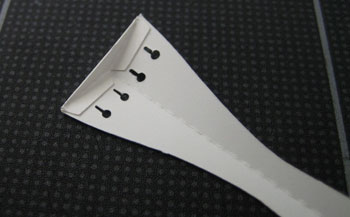
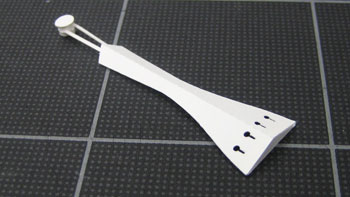
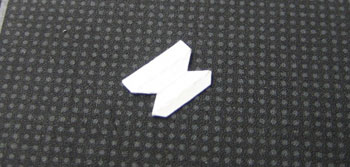
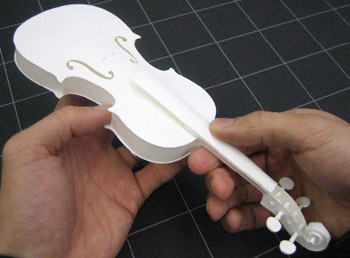
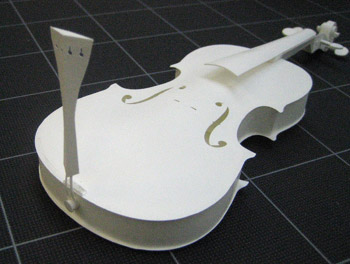
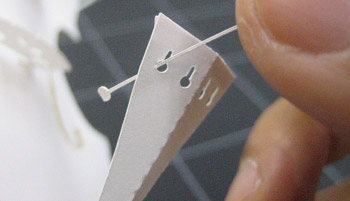
Cut out neck part.
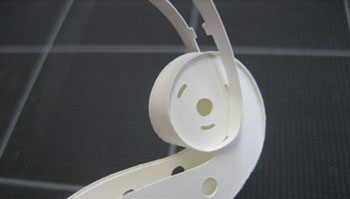
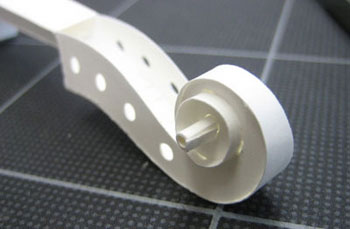
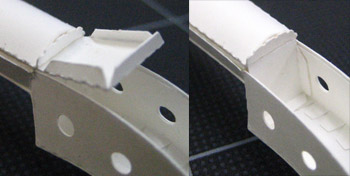
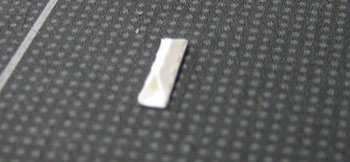
Use tooth pick rolling up the head part to fit the shape.
Do not cut off head and neck part
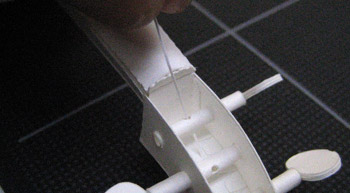
neck
make carve as shown
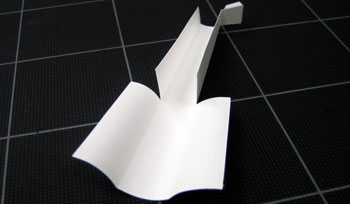
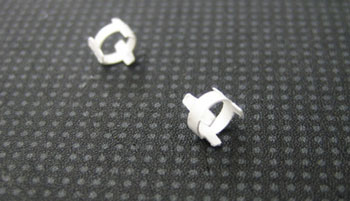
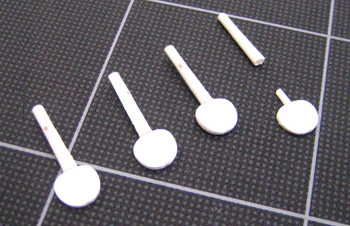
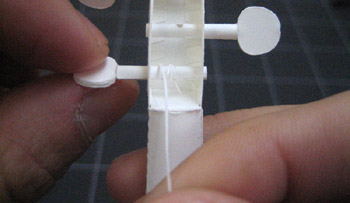
Roll up stem of pigs. No glue necessary.
peg actually use to wind the strings like real violin